Showing posts with label Use It or Lose It. Show all posts

Monday, 7 March 2022

The Book of John

We saw Rhod Gilbert live last November, in his stand-up show called The Book of John, and I made this page for a couple of recent cyber-crop challenges.
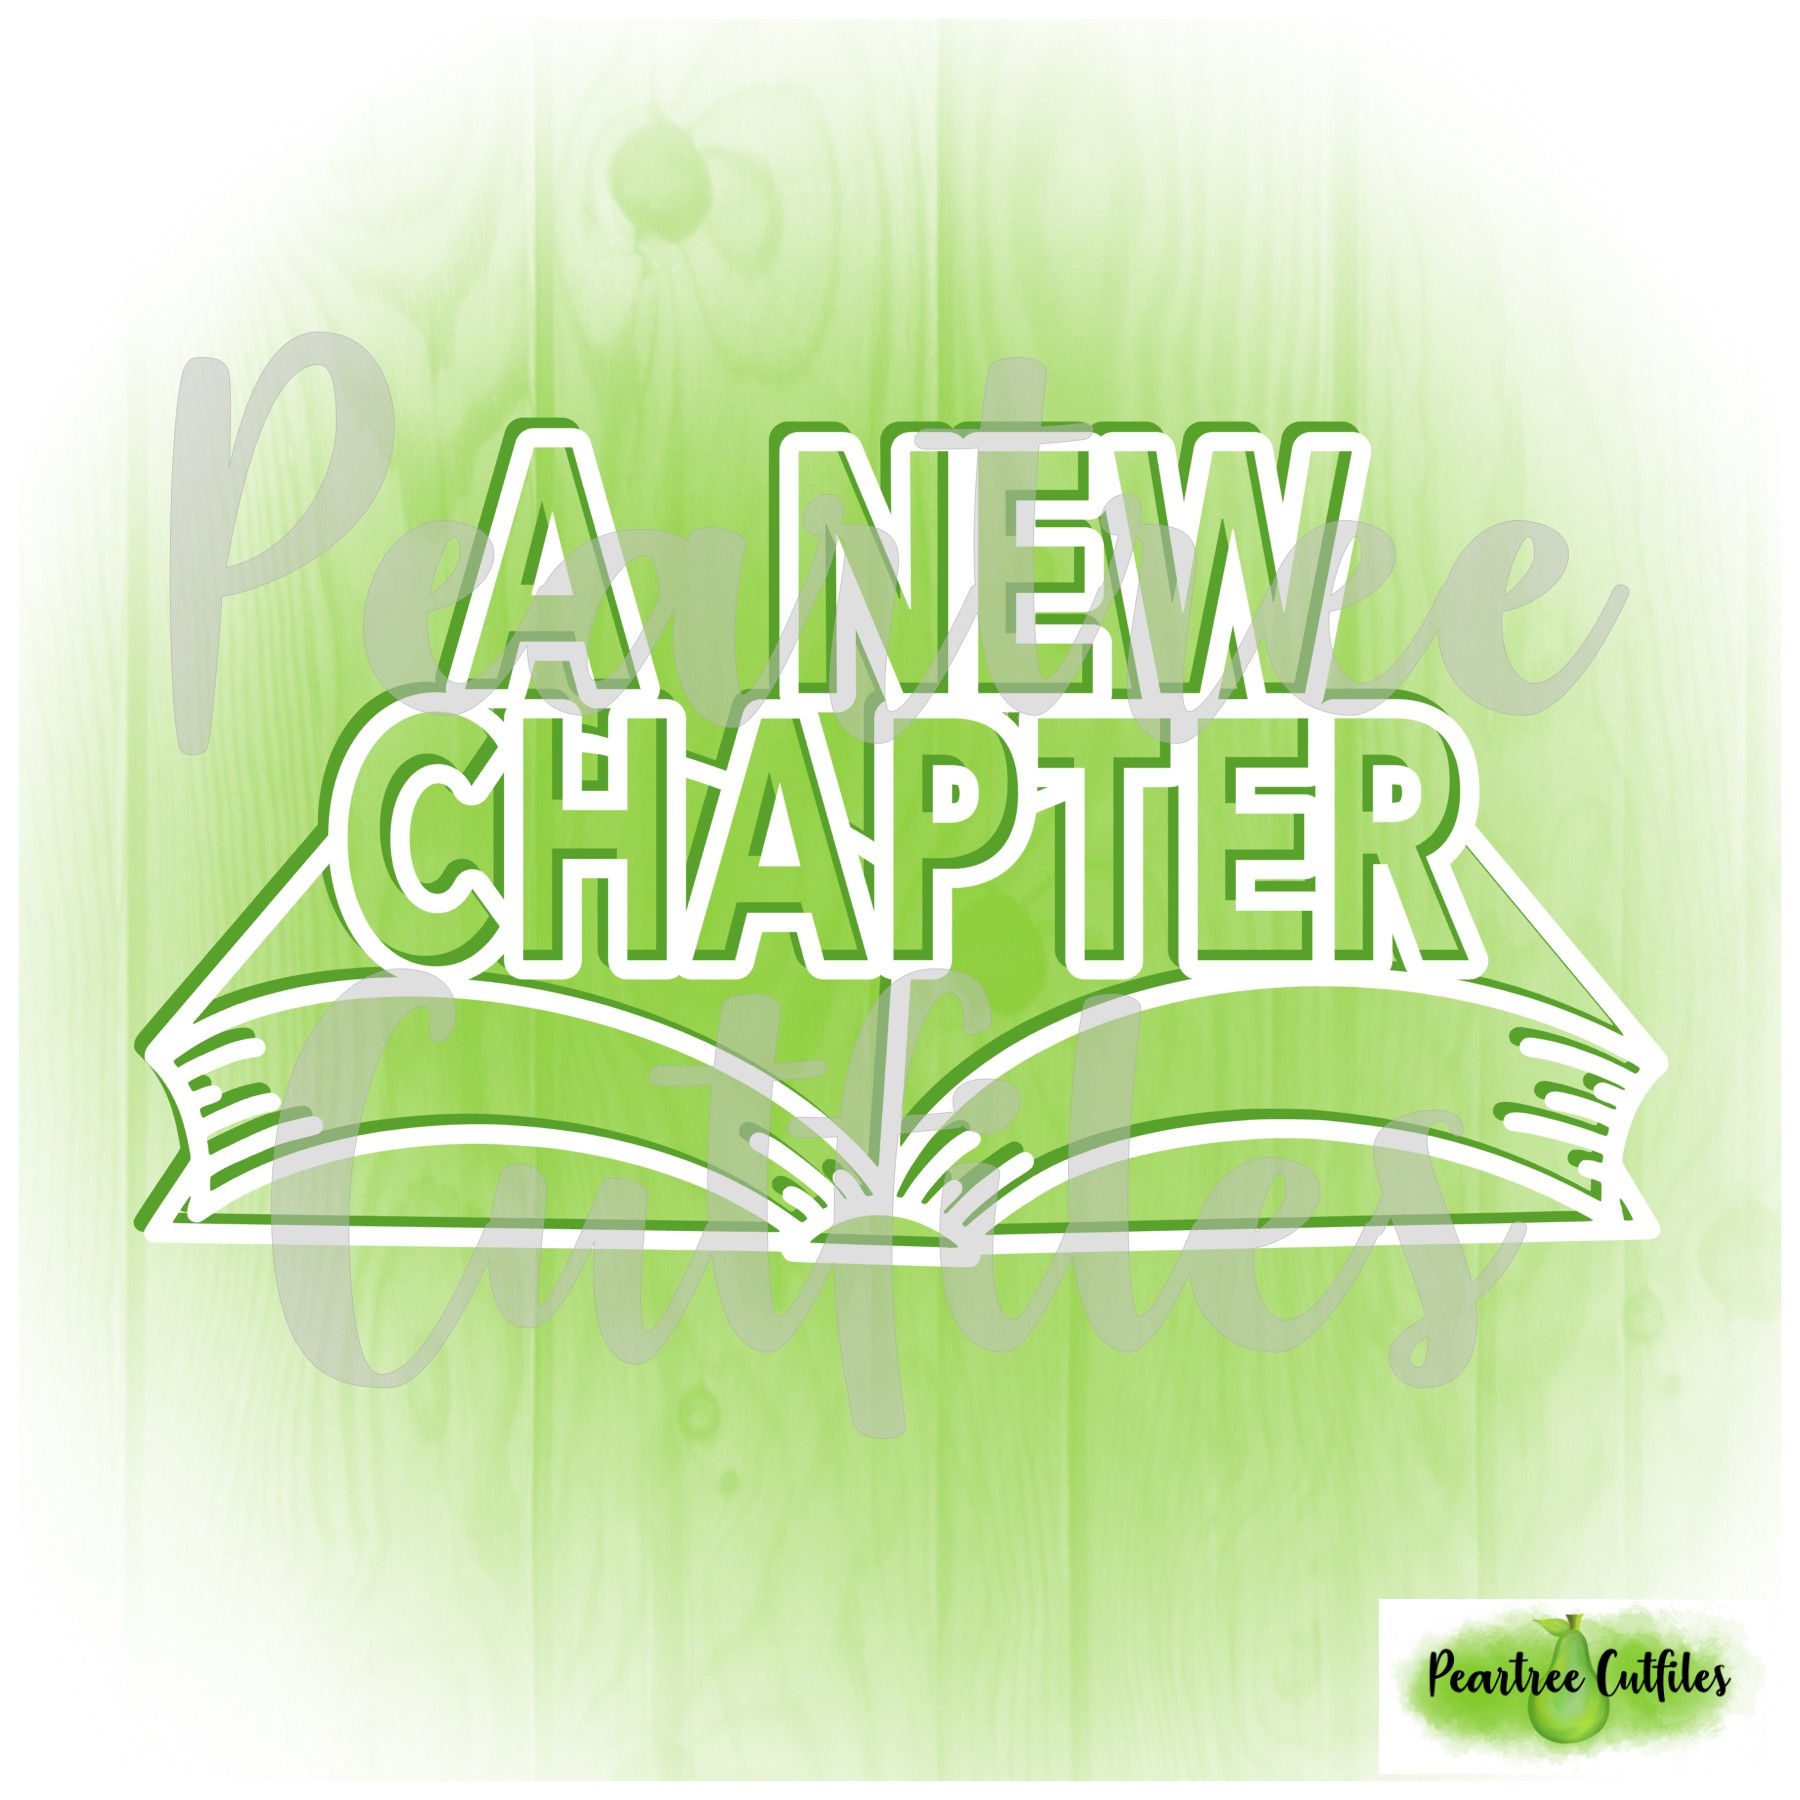
Peartree Cut-Files asked us to make a page starting from a cut-file we love, and I'd already earmarked 'A New Chapter' as being the one to use with these photos (if I could successfully remove or cover the wording).

A week later, GoGoGetaway asked us to be inspired by alphas. I have loads of part-used packs and I do want to use up some of the older ones where I don't have enough letters left for any good words, but have too many left just to throw them away. I decided to use my tiny rub-ons here, having them fly out of the book.

I cut the book from black cardstock to match the dark backgrounds of the photos and backed it with a single piece of ombre paper. I chose a star print background paper that has some interest but is subtle enough to take all the lettering, and pulled the colours for my embellishment clusters from the printed stars.

Supplies
Cardstock - Craft Sensations
Paper - Heidi Swapp Hello Today, Heidi Swapp No Limits, DCWV Romantic Life
Letters - Doodlebug
Washi Tape & Ticket - Unknown
Puffy Stars - Elle's Studio
Enamel Dots - Altenew
Mist - Mister Huey's

Tools
Silhouette Portrait

Thursday, 24 September 2020

Mirror, Mirror

Our daughter has been at the University of Sussex for a year now. Before she went, I offered to make her an album for her experiences if she supplied me with the photos. It took her almost a year to organise, but she presented me with a memory stick just before she went back this term so I'm finally able to make a start for her.

I'll be tackling them in random order as inspiration strikes or suitable challenges arise, and I'm starting with the first September challenge from For the Love of Pretty Paper which is to scrap a selfie.

I recently rediscovered a set of Freckled Fawn stickers which I'd forgotten about. I received them as part of a prize a couple of years ago but they're not really my thing so they've sat around ever since. I decided that these fell into my 'use it or lose it' category and that if I didn't use them soon then I should either sell them or give them away.

I was so happy to find the perfect paper to go with my stickers, a stripe from Heidi Swapp that not only matched all the colours but the stripes were at the right angle for the diamond shapes to sit neatly between the lines.


I cut my title on my Silhouette because few alpha sets have six Rs, and this also meant that I could reflect the second word.

I have plenty of colours and patterns on the diamonds and I didn't want to clutter the page with too many other embellishments so I just added a trio of black puffy stickers, magenta enamel diamonds overlapping a few of the cardstock diamonds and a smattering of jade enamel dots.

Supplies
Paper - Heidi Swapp Hello Today, HOTP Garnet Sarabook
Stickers - Freckled Fawn Chit Chat
Puffy Stickers - Heidi Swapp Journal Studio
Enamel Shapes - Heidi Swapp, Ebay
Ink - Hobbycraft
Mist - Maya Road, Mister Huey's 

Tools
Silhouette Portrait

Wednesday, 13 March 2019

Starting Point Pages from Scraps

I've always limited myself to one pizza box for my paper scraps, and when it's full I make kits from the pieces in an attempt to clear some space. However, there are some bits in the box that have been there for years because they never match enough other papers to form a kit. I'm changing strategy for this year, starting off a second box for new scraps and at the end of this year I plan to jettison anything that is left in the original box. 

I've been looking through my scraps box for papers for most non-cruise-album pages this year and have cut into hardly any new sheets but the box isn't going down very fast so I decided to make some 'starting point' pages; pages started from a coordinating set of scraps, layered up in a pleasing way without any major thought about the photos that will go with them.

The first page was based around an ancient blue spotty paper from Cherry Arte (labelled 2006 though I can't have had it that long since I didn't start scrapbooking until 2008). I picked out various blue and green papers to go with it and layered them on a white cardstock background. I punched the three circles which will hopefully form the start of some embellishment clusters in the future and binned the rest of that scrap.


The next page was based around a couple of scraps from Echo Park's Note to Self collection (2012), the numbers print and the diagonal stripes. I matched those with the checked and polka dot papers and used a paper with similar colours from Shimelle's first American Crafts collection for the background. 


I started this page from the half-sheet of floral patterned paper and trawled through my box for coordinating pieces. They were mostly quite small so I ended up layering a few strips alongside a circle. The background comes from the same paper pad as the floral and I added a discarded branding strip between the two. Finally, I punched a few stars to form part of the embellishments when I finish this page.


This is the simplest of the pages I started, made with three scraps and the month card from a Studio Calico kit. I really like the floral pieces, so hunted for reds and greens to go with them but didn't find much. Obviously I will have to position my photo(s) to cover the hole in the middle when I finish this page. The heart isn't stuck down yet, but it matches so well and has been in my scraps box for eight years (since it was discarded while making this page). 


So, my scraps box is a little lighter now, but still quite full. There are a few papers in there that I really don't want to bin so I shall continue to look through the box for every page and attempt to tuck in as many pieces as possible.

Links to Finished Pages:
Blue & Green page - #boyznite
Echo Park page - We Dare You!
Red & Green page - 40 Years


Friday, 20 April 2018

Starting Point Pages

I still have a few pages left to make from 2014 but they're feeling like a chore, so I've diverted into playing with pretty paper in a different way.

I don't often buy a whole collection but when I buy a few sheets from one I keep them together for as long as possible, in a ziplock bag on the shelf. Some of these bags are down to scraps now so I've decided to clear them out by making a few 'starting point' pages, pages where I just cut those scraps into boxes (or circles) and layer them up in a pleasing manner ready to add the photos later. 

The first page I made used Dear Lizzy Neapolitan by American Crafts from 2012. I had no whole sheets left so added a pink heart print that I think is from a Pebbles baby collection. I had decent size pieces of the floral and cream papers so started from a broad L-shape then layered the smaller pieces and some branding strips over them. When I finish off this page I'll make sure that my photos cover the gap between the jar and the pink lined paper. I still have a piece of jar print paper left but I've cut it into individual jars and added them to the drawers where I keep my embellishments sorted by colour.


Next up is Little Sport by Fancy Pants, also from 2012. My largest piece was a zig-zag print, still 12x12 but with a couple of pieces cut from the edges, so I cut down a plain paper to go over it leaving the zig-zag as a border on two sides. The only other piece of significant size was the stripe so I used that as a potential photo mat and layered most of the other pieces behind it. The blue was already two pieces (which I trimmed to be the same width) and I cut and stretched the zig-zag and spot papers to go above and below the stripe. I then took some of the smaller scraps and made a small cluster on the left where the plain paper meets the zig-zag background.


My third page uses This & That Charming by Echo Park; it was another 2012 release and this time I did buy the collection pack. The largest piece I had left was about 11x12 as I had previously cut a strip from it. I backed the gap with a 12" long scrap and filled it in with a border sticker and some strips cut from a yellow paper. Then it was a case of cutting pieces into rectangles and layering them up; the book print is two pieces so I made sure to place a strip over the join. I'd previously punched a number of circles so I pulled them in here, but only the ones at the top with the green tab are actually stuck down. Once I've chosen some photos I'll stick the journalling card and the other circles under and around them. I still have a number of stickers left so I'll be able to add some of those later too.


Echo Park's Dots & Stripes Christmas (2011) has had a different treatment; it's never really worked for me as a collection in itself because most of the papers are single colours. I've added the red and brown full sheets to the organiser where I store single papers by colour, and added the snowflake patterned ones and the scraps to my bag of mixed winter-themed papers. I've also cut up the sticker sheet and added the pieces to my embellishment drawers.

The last starter page for today is based on Daily Stories by Teresa Collins (2014) but I only ever had about four papers. There weren't enough pieces left for a page so I added a background from the original Shimelle collection and some other papers from my scraps box. The butterflies and meshed circles prints are TC, I've binned some tiny pieces of a floral print and I just have some of a cut-apart sheet left now. I'll use some of the cut-apart when I finish the page and then turn the rest into embellishment pieces.


I've really enjoyed making pages in this way for a change and I intend to go through my scraps box soon to make a few more. I have some really lovely papers in that box that deserve to be part of a page instead.

I'll try to place links to my finished pages here once they are done.

EDIT - Links to finished pages:
Dear Lizzy - Beatrix's Christening
Fancy Pants - Stonehenge
Echo Park - Great Little Engines
Teresa Collins - Captured

Sunday, 18 September 2016

"Presents" Birthday Card

I've had a sheet of presents stickers sitting untouched in my stash for far too long, so I've recently been keeping an eye out for card sketches where I can use a few. This one from Sketch-n-Scrap was posted earlier this month and the little owl was easily replaced with a row of presents. 

The stickers are translucent so I stuck them to a scrap of white card and fussy cut around them. This also made it easier to play around with their positioning on the circles and  I raised the green ones up on foam pads for a bit of dimension as I assembled the card.


Sunday, 28 February 2016

A 'Starting Point' Page

At the beginning of the month, Tracy Banks (MercyTiara on YouTube) challenged us to kill off an old kit or collection pack. I picked Basic Grey's Archaic collection because I'd already had a bash at killing it off back in January, with this page:


I returned to the collection with another page earlier this month:


And finally, I have a 'starting point' page. This is a term that Shimelle Laine coined a few years ago for a page that you start without photos in mind. I used my largest paper as a potential photo mat and ran a row of rectangular scraps below it. Then I layered up a few smaller pieces at the left of the photo area. I'll come back to this page later in the year and finish it when I have a suitable photo.


Are you wondering whether I will actually finish this page? Or will it sit around forever waiting? Never fear, I've done this sort of thing before and I promise you that they DO get finished.

EDIT: The finished page is here.

Supplies
Cardstock - Bazzill
Paper - Basic Grey Archaic

Wednesday, 10 February 2016

My Boy

I've been a follower of Mercy Tiara (Tracy Banks) on YouTube for some years, and she's announced her plans for a series of 27 Day Challenges this year. Each one will be posted on the first of the month, and we have 27 days to play along. Her first challenge is to use up an older collection or kit, and this lead me back to Basic Grey Archaic, which I tried and failed to kill off a few weeks ago (with a page called Play Hard). 

I pulled out the remaining pieces once again; lots of my paper scraps were 6" wide so I started by lining them up in a column, then layered a 6x6 piece and a 4x6 piece on top, followed by a few small strips, before I decided on my photo. I picked an old one of my son, which I'd previously cropped to about 4x4, and added a couple of stickers and a circle of the dinosaur print.


And guess what? I still haven't killed off this collection, and I only used two of those pesky stickers.

Supplies
Cardstock - Bazzill
Paper - Basic Grey Archaic
Letters - American Crafts
Brads - Bazzill
Ink - Docrafts
Mist - Mister Huey's


Saturday, 23 January 2016

Play Hard

I've been trying to only make pages for either my Canadian Cruise album or my 2015 album, but sometimes inspiration strikes and it has to be heeded. 

I was looking through my stash when I flipped past an old sticker sheet from Basic Grey's Archaic collection. Nothing unusual in that; I know it's in there, I have the remains of the 6x6 paper pad and I always pull out the stickers with the paper. But this time I was struck by its age, and the fact that I haven't used any of the stickers in ages. I decided to turn things around and try to use up the remaining pieces on one page.

One of the stickers looked suitable for a title - Play Hard - and another had the quote 'It is a happy talent to know how to play' so I looked for photo(s) of my son or nephew when they were younger. I soon hit on one of my nephew playing in the park, where happily his shirt is a great match for the colours of the Archaic papers.

I started laying out the various stickers around the photo and came to the conclusion that I needed a strong shape to contain them all. I used a template and distress ink to make a circle and layered my photo with a few paper scraps, one of the border stickers (cut in three) and my two word stickers. I placed a few stickers on the circle, tucked one in my layers and used up the photo corners, but adding more pieces just looked wrong whatever I did, so I stopped here:


I still have two more 12" border stickers, some small squares, a frame, two photo turns and various arrows, so the page certainly didn't kill off the sticker sheet. However I am one step further towards eliminating it from my stash. I still have some paper too; perhaps one more page will do it?

Supplies
Cardstock - My Mind's Eye Funday
Paper - Basic Grey Archaic 6x6 Pad
Stickers - Basic Grey Archaic
Brads - Bazzill
Ink - Ranger
Mist - Mister Huey's

Tools
Heidi Swapp Circle Mega Mask
Fiskars Postage Stamp Border Punch

Saturday, 29 August 2015

Minibeasts Card

During a recent clear-out I came across the remnants of a kit that was probably a magazine freebie, just a couple of papers and few die-cuts.There wasn't much left, but there was enough for a quick card. I covered a card with the largest paper and cut a circle from one of the scraps to layer behind the sentiment die cut, using foam squares between the two circles. I cut several lengths of wire and stuck one end of each to a dragonfly, butterfly or frog, wedging the other ends into the foam squares to hide them and hold them in place.


Sunday, 23 August 2015

Say Cheese

Have you ever used a whole packet of something on one scrapbook page? I did it here, and it's really rather satisfying to throw the empty packaging away.

I've had a sheet of Doodlebug alphabet rub-ons for ages. They were part of a prize that I won some years ago, but I don't particularly like mixed fonts and mixed sizes in a title so they'd been relegated to the back of my alphabets basket and half-forgotten. I rediscovered them during a recent sort-out and was hit by a neat solution - just use the whole sheet all together to make a block of lettering on a page.

I like to scrap school photos on letter or number backgrounds, so I picked out an old picture of my niece and nephew and used my rub-ons with navy cardstock for a good contrast against the white letters. I themed my page a little with lined paper, punched with a notebook border punch, and a few pencils, cut from a scrap of paper that's even older than the rub-ons.


PS I doodled a white border around the page after I took this photo. Sometimes you notice what's missing while writing the blog post!

Supplies
Cardstock - Bazzill
Paper - My Mind's Eye Now & Then, Cosmo Cricket Homework
Rub-Ons - Doodlebug Party Mix
Letters - American Crafts
Stickers - My Mind's Eye, Teresa Collins
Ink - Docrafts

Tools
American Crafts Notebook Punch
Woodware Scalloped Circle Punch


Monday, 17 August 2015

James

If you're anything like me, you have a collection of useless Thickers sitting about, packs with hardly any vowels and no hope of making a new page title, but you can't quite bring yourself to throw them away. I've had an idea brewing in my head for a while about how to use some of them up, and I've finally put that idea into practice.

I picked a set of dark grey foam Thickers in the Lullaby font, and matched them to similar dark grey cardstock to make a background for my page. Lullaby is a very curly decorative font, and I thought that I would be able to fit the letters and numbers together in an interesting pattern; a more formal font would probably have been very blocky. 


The photo is an old one of my nephew when he started secondary school, and the layers behind it are a result of more stash-busting. I chuck all my paper scraps in one box as I go along, and when it's full I sort all of those scraps into co-ordinating mini-kits in order to use them up. These papers were part of a aqua/teal and grey set that I had pulled together a couple of weeks ago.

Supplies
Cardstock - DCWV
Papers - Pink Paislee, Crate Paper, American Crafts, Bo Bunny
Letters - American Crafts
Rub-On Letters - Making Memories
Mist - Docrafts
Ink - Docrafts

Tools
Big Shot and Quickutz Tabs Die
Woodware Tag (as a Template)


Thursday, 23 July 2015

Fun with Thomas

I'm a member of several scrapbooking groups on Facebook, and one of the ladies in the UK group For the Love of Pretty Paper recently shared a new Spelling Bee challenge that she'd found at Scrapbook Challenges.

The challenge is to create a page incorporating elements for each letter of your home town, so everyone's challenge will be slightly different. The place where I live has 15 letters, but although you can limit this to any 10  I decided to use my postal town which is Grays, so my challenge is to use glitter, rub-ons, arrows, yellow and sequins.

I've been going through a mini clearout of my stash, and I've had a piece of Thomas the Tank Engine paper lurking there for years. I bought it for a specific set of photos, but I just hadn't got round to making the page. In the spirit of 'Use It or Lose It' I decided to just get it done.


I used glitter thickers for the title, a yellow mat for one of the photos and all the elements appear in the two embellishment clusters.


Supplies

White Cardstock
Paper - Sandylion Thomas Badge, Crate Paper Boys Rule, Fancy Pants Childish Things plus scraps
Letters - American Crafts
Stickers - Anita's Glitterations, Teresa Collins, My Mind's Eye
Rub-Ons - American Crafts Shimelle
Enamel Dots - Teresa Collins, Studio Calico
Brads - Doodlebug
Washi Tape - Unknown
Ink - Docrafts
Sequins

Tools
Woodware Postage Stamp Punch
Woodware Scalloped Circle Punch
Woodware Tiny Star Punch

Saturday, 27 June 2015

Tulip Cards

Paper after cutting into it for the last page
I've had a piece of paper with tulips on it in my stash for several years. It was a pretty paper (aren't they all) but the tulips took up half the page and I had no idea how or when (or even if) I would ever use it. 

However, the pink background was the perfect colour for my last page so I cut into that sheet at last, using the top part for a couple of strips and a some ticket die-cuts. I figured that I was never going to use the paper at the full 12x12 size anyway, and this way at least part of it would be used.

Then I realised that although it was a difficult paper to use on a scrapbook page, it would be possible to use it for cards. The row of tulips had gaps in between some of the flower heads and, with care, I could cut it into three pieces, with one, two and three tulips. Each piece was a different width, leading to cards in three different shapes/sizes.


I started from the right, with two flowers on my first card. The paper was large enough to cover a standard 4x6 card, so that's what I did, but everything else I added to it looked wrong. This is the third iteration of the card - I finally made the paper a little narrower and added a punched border strip in green.


I used the middle section, with three tulips, for my next card. This was wider and seemed suited to a square panel. The width of the flower panel was dictated by the position of the flowers and my square was too small for the card, so I matted it on some old mulberry paper. Finally I tied a ribbon around the flower panel.
The single tulip on the left of the paper gave me a tall, narrow card. The background at that point has faded from pink to grey-green so I switched to pink mulberry paper behind the flower, and added a border sticker to the bottom of the panel.